RV flooring takes a lot of abuse. Between road travel, changing temperatures, moisture, dirt, pets, and everyday foot traffic, the floor inside an RV can eventually show signs of wear.
You may notice loose flooring, damaged sections, discoloration, bubbling, soft spots, or areas that simply no longer look or feel right.
When that happens, the big question is often whether the floor can be repaired or whether replacement makes more sense.
If you are searching for RV flooring repair near me, understanding what happens during the process can help you make a better decision before starting the project.
When Does RV Flooring Need Repair?
Not every damaged RV floor needs to be completely replaced.
Minor problems may sometimes be addressed without removing the entire floor. However, more extensive damage can make replacement the more practical solution.
Signs that your RV flooring may need attention include:
- Peeling or separating flooring
- Cracked or damaged sections
- Water-related deterioration
- Loose flooring
- Worn or heavily stained surfaces
- Uneven areas
- Soft spots beneath the flooring
- Flooring that has become difficult to clean
The visible damage is not always the full story. Moisture or problems underneath the surface can sometimes affect the condition of the subfloor as well.
That is why an inspection is an important first step.
RV Flooring Repair vs. Replacement
Repair makes sense when the damage is limited and the surrounding flooring is still in good condition.
For example, a small damaged section may not justify replacing an otherwise healthy floor.
Replacement becomes more attractive when the flooring has widespread wear, repeated damage, moisture-related problems, or an outdated surface that you want to completely refresh.
If the underlying surface is compromised, simply covering the damaged area may not solve the problem.
A flooring professional can evaluate the existing floor and help determine whether repair or replacement is the better approach.
What Happens During RV Flooring Replacement?
If you are searching for RV flooring replacement near me, you may be wondering what the actual process involves.
While every RV is different, a professional flooring project generally starts with an assessment.
1. Inspecting the Existing Flooring
The condition of the current flooring and the surface underneath it needs to be evaluated.
The installer may look for uneven areas, moisture damage, loose materials, and other issues that could affect the new flooring.
2. Choosing the Replacement Flooring
The next step is selecting a flooring product that suits the RV.
RV flooring needs to handle more than normal household foot traffic. It also has to work within the unique environment of a recreational vehicle.
Water resistance, durability, maintenance, appearance, and installation requirements should all be considered.
3. Preparing the Surface
Proper preparation is one of the most important parts of the project.
The existing flooring may need to be removed, and the surface underneath may require cleaning, leveling, or other preparation before new flooring can be installed.
Installing new flooring over an unsuitable surface can lead to problems later.
4. Installing the New Flooring
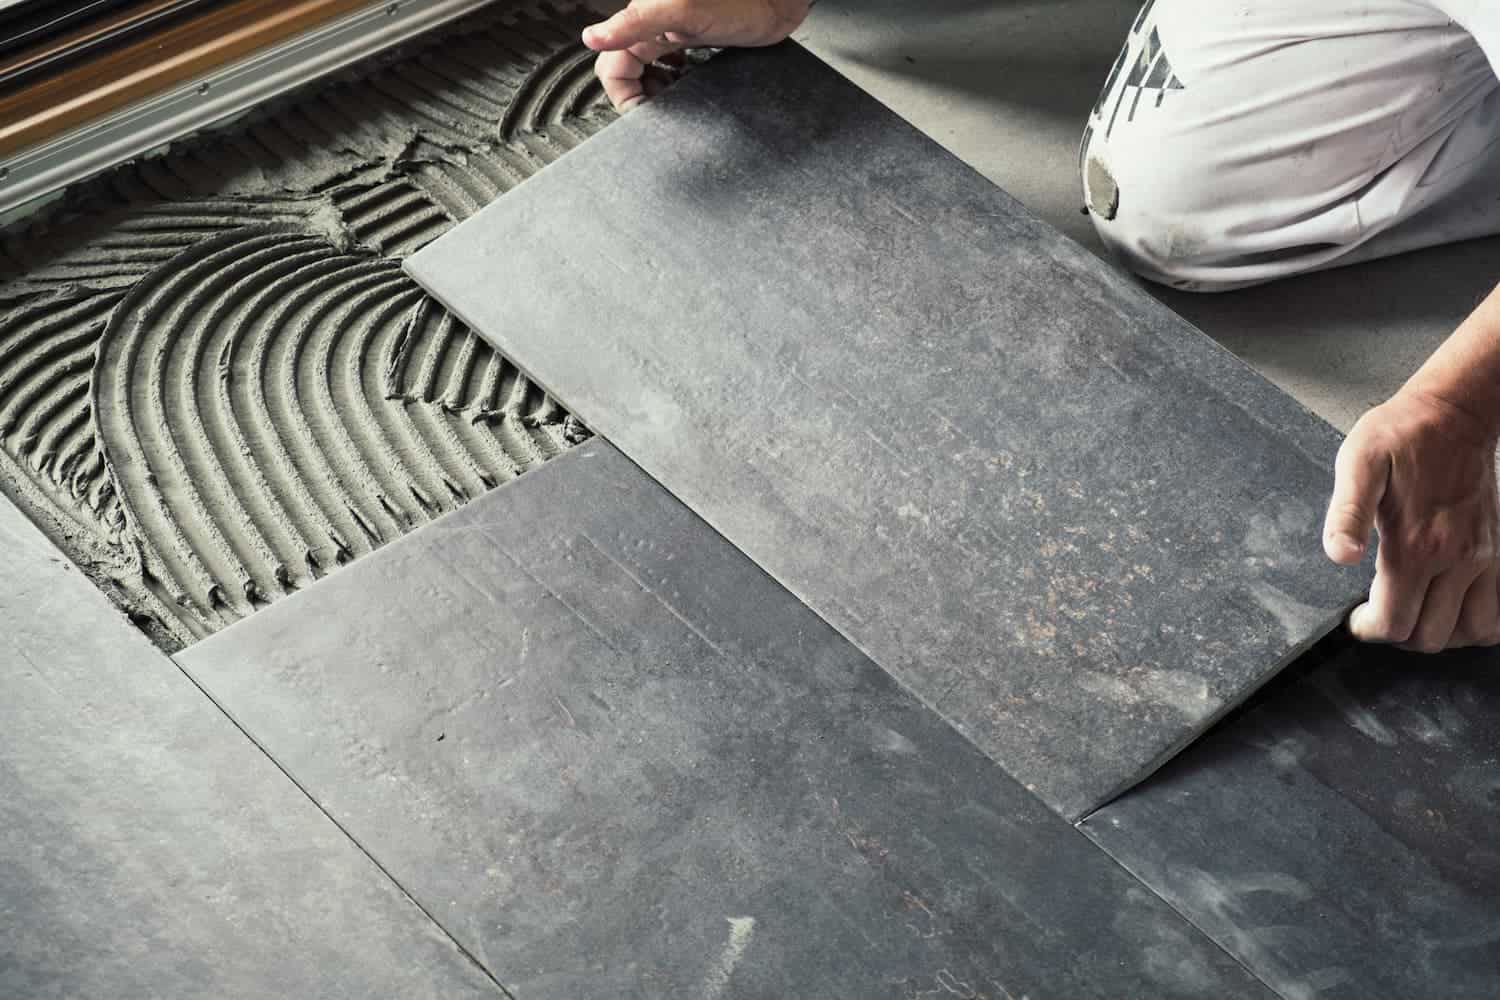
Once the surface is ready, the new flooring can be measured, cut, fitted, and installed.
RV interiors can have unusual layouts, tight spaces, cabinets, furniture, and other obstacles. Accurate measurements and careful installation help produce a cleaner finished result.
5. Finishing the Details
Transitions, edges, corners, and other finishing details can have a major impact on the final appearance.
A professional installation should leave the flooring looking intentional rather than simply covering the damaged areas.
What Affects RV Flooring Replacement Cost?
If you are researching RV flooring replacement cost, it is important to understand that there is no single price that applies to every RV.
Several factors can change the final estimate.
Size of the RV
A larger flooring area generally requires more material and installation work than a smaller space.
However, the actual layout can matter just as much as square footage.
Condition of the Existing Floor
If the old flooring comes up easily and the surface underneath is in good condition, preparation may be relatively straightforward.
If there is moisture damage, unevenness, adhesive residue, or other problems, additional preparation may be necessary.
Flooring Material
Different flooring products have different characteristics, designs, installation requirements, and levels of durability.
The right choice should be based on how the RV is used rather than simply selecting the cheapest available option.
Layout and Installation Complexity
An RV can contain tight corners, cabinets, appliances, slide-outs, and other features that make flooring installation more detailed than a simple rectangular room.
The more complicated the layout, the more important accurate measuring and professional fitting become.
Removal and Disposal
The existing flooring may need to be removed before the new material can be installed. The condition and type of the old flooring can affect how involved that process is.
For these reasons, an in-person assessment is the best way to understand what your particular RV flooring project requires.
What Should You Look for in RV Flooring?
The best RV flooring should balance durability with comfort and appearance.
Water Resistance
RVs can encounter spills, wet shoes, condensation, and other sources of moisture. Water-resistant flooring can make everyday cleanup easier and provide practical protection in areas exposed to moisture.
Durability
RV flooring needs to withstand regular movement and foot traffic without quickly showing signs of wear.
Easy Maintenance
An RV is supposed to make travel easier, not create another demanding cleaning routine. Flooring that is easy to clean can be especially useful after outdoor activities and road trips.
Appearance
Flooring can dramatically change the interior appearance of an RV.
Wood-look, modern, and other decorative flooring styles can give an older RV a refreshed appearance without requiring a complete interior renovation.
Why Professional Installation Matters
RV flooring replacement is not always as simple as removing one floor and laying another.
The unusual dimensions and fixed features inside an RV can make accurate measuring and fitting important. Professional installation can also help identify underlying issues before they become hidden beneath the new flooring.
Magic Carpet Flooring provides boat decking and RV flooring solutions designed for durability and water resistance, along with professional installation services.
The company has served the Bay City and surrounding Tri-City area since 1967, offering flooring solutions for residential, commercial, marine, and RV applications.
Browse RV Flooring Options
If your RV floor is damaged, worn, or simply ready for an update, start by evaluating the condition of the existing surface.
A small repair may be enough for limited damage, while extensive wear or underlying problems may make full replacement the better long-term solution.
Instead of choosing flooring based only on appearance, consider moisture exposure, durability, maintenance, installation requirements, and the way you use your RV.
If you’re ready to upgrade your RV, browse RV flooring options from Magic Carpet Flooring and explore flooring solutions designed for the demands of life on the road.